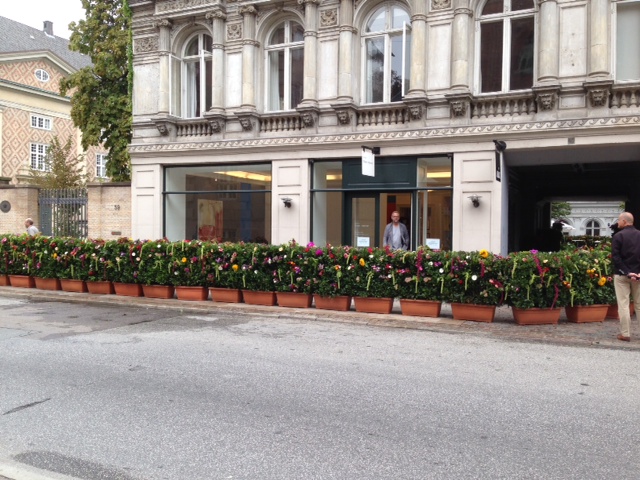
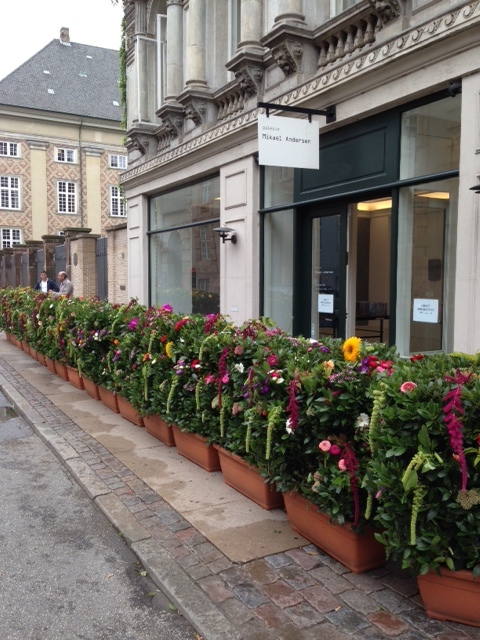
Love this presentation. Super pot/plant combinations. The Bay trees really complete the setting.
Лавр – источник красоты
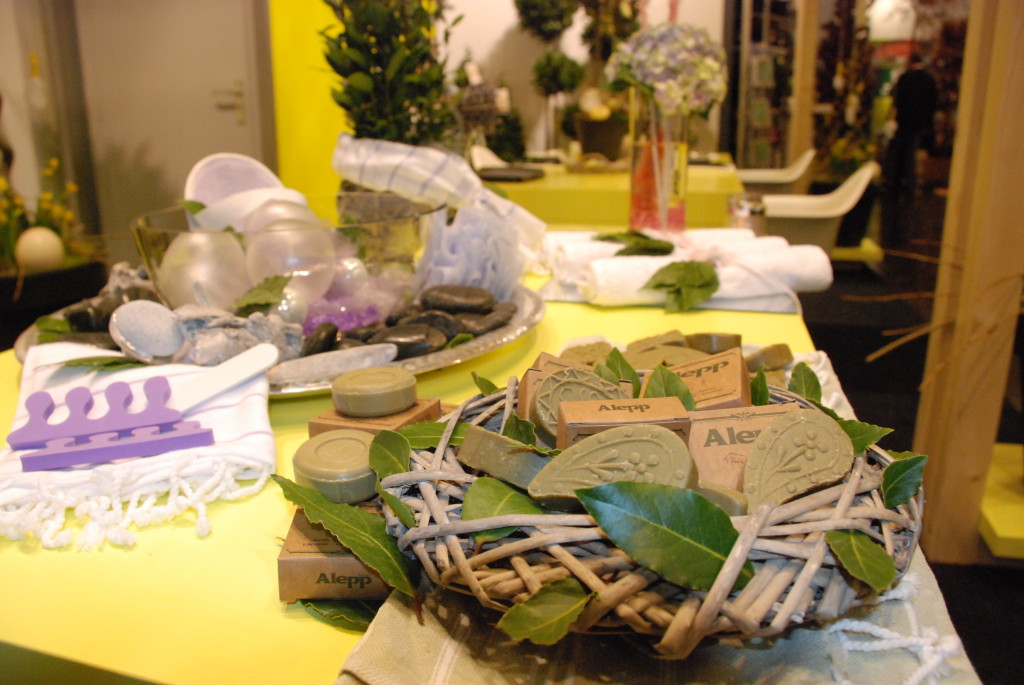 Лавр – это не только ароматное растение. Его очищающие свойства были известны и оценены по достоинству уже несколько тысячелетий назад. Лавр стоит у колыбели современной косметической промышленности. Масло Лавра входило в качестве существенного ингредиента в первое кусковое мыло. Этой «Матерью всех мыл», которой больше тысячи лет, было мыло Алеп (или Алеппо). Качество мыла определялось количеством содержащегося в нем лаврового масла.
В мыле Алеп сочетаются мягкость оливкового масла и заживляющие свойства Лавра. Благодаря своим благотворным свойствам такое мыло особенно рекомендуется для людей с чувствительной или поврежденной кожей.
Через несколько дней после начала употребления мыла Алеп вы заметите, что оно действует на кожу увлажняюще и питает ее. Мыло Алеп изготовлено на 100% из растительных ингредиентов, которые полностью биологически распадаются, и оно расходуется очень экономно.
Это мыло впервые было сделано в городе Алеппо. Алеппо, расположенный на Великом шелковом пути в Месопотамии, является одним из старейших городов мира. Первая косметическая продукция изготовлялась здесь уже свыше 4 тысяч лет назад.
Первоначальное название мыла Алеп – «Sapun Ghar», что буквально означает «Лавровое мыло». Позже мыло Алеп крестоносцами было завезено в Европу, где на его основе была создана мыльная промышленность в Марселе (Savon de Marseille).
Совет по использованию: не оставляйте мыло в мыльнице с водой, так как оно станет мягким и начнет растворяться. Это очень жаль, поэтому дайте мылу подсохнуть на воздухе в сухом блюдце или мыльнице. В таком случае вы сможете гораздо дольше им наслаждаться.
Artist transforms Laurus hedge in Copenhagen
Pictures Esther Brugman
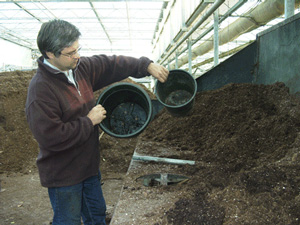
удобрять & Смена горшка Laurus nobilis
удобрять
- В мае и июле можете удобрить лавр. Мы рекомендуем использовать сухие органические удобрения.
- Кладите удобрения сверху на землю в горшке. Вы можете придерживаться общего правила, что на каждые 10 литров содержания горшка нужна одна горсть удобрения.
- Возможно также применение искусственных удобрений длительного действия (напр. осмокот), который действует три месяца. В этом случае внесите удобрения только в мае.
- После августа больше применить удобрения нельзя, т.к. растение должно закалиться и успокоиться в ожидании зимнего периода.
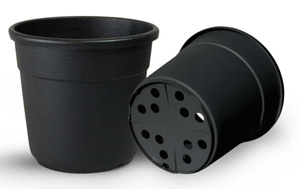
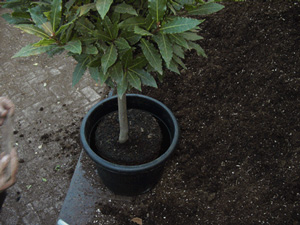
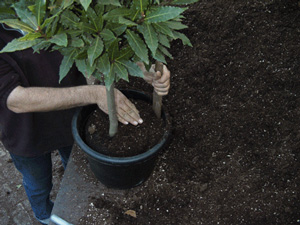
Смена горшка
Neither witch nor devil, thunder nor lightning will hurt a man where a Bay Tree is
Nicolas Culpepper
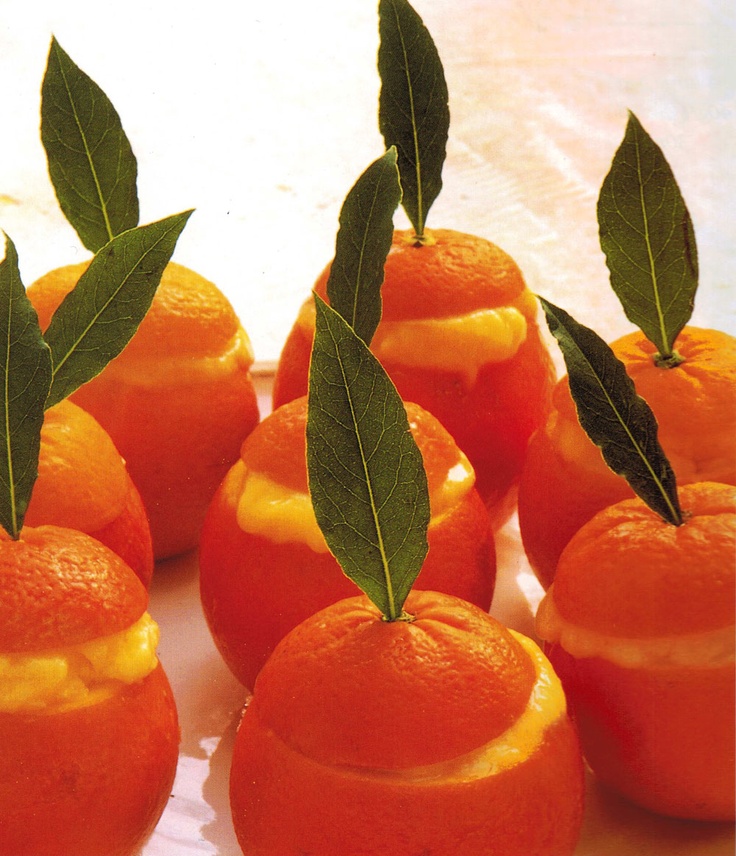
Iced Oranges
 Ingredients
- Serves 8
- 5oz/150g granulated sugar
- Juice of 1 lemon
- 4fl oz/120ml water
- 14 oranges
- 8 fresh bay leaves to decorate (or mint if this is more readily available)
Preparation
- Put the sugar in a heavy-based saucepan. Add half the lemon juice, then add the water. Cook over a low heat until the sugar has dissolved. Bring to boil and boil for 2-3 minutes until the syrup is clear.
- Slice the tops off eight of the oranges to make “hats”. Scoop out the flesh of the oranges and reserve. Freeze the empty orange shells and “hats” until needed.
- Grate the rind of the remaining oranges and add to the syrup. Squeeze the orange juice from the oranges, and from the reserved flesh. There should be 1¼pints/750ml. Squeeze another orange or add bought orange juice, if necessary.
- Stir the orange juice and remaining lemon juice, with 6 tablespoons/90ml of water into the syrup. Taste, adding more lemon juice or sugar as desired. Pour the mixture into a shallow freezer container and freeze for 3 hours.
- Turn the orange sorbet mixture into a bowl and whisk thoroughly to break up ice crystals. Freeze for 4 hours more, until firm, but not solid.
- Pack the mixture into the hollowed-out orange shells, mounding it up, and set the “hats” on top. Freeze until ready to serve. Just before serving, push a skewer into the tops of the “hats” and push in a bay leaf (mint) to decorate.
Enjoy!
Recipe taken from “The Fat-Free Cook Book”
Уход в летнее время
- После середины мая (когда заморозки окончательно позади) Вы обычно можете ставить лавр на улицу без всяких опасений.
- Лавровое дерево чувствует себя хорошо как в тени, так и на ярком солнце.
- Растение нуждается в регулярном поливе. Если оно стоит на ярком солнце, то поливать его надо каждый день. Следите за тем, чтобы лавр не стоял «ногами в воде». Летом растение само показывает, когда его нужно поливать: молодые побеги повиснут и молодые листья слегка скрутятся. Если полить растение, через несколько часов все восстановится.
Уход зимой
- Вследствие своего средиземноморского происхождения лавр не морозоустойчив.
- Дайте лавру перезимовать с ноября по апрель в защищенном от морозов месте (2-10° C). Зима для лавра является «периодом отдыха». В этот период процесс роста полностью останавливается. Поэтому лавр зимой нужно поливать лишь изредка. При температуре 5° C достаточно поливать его раз в шесть недель. Слишком много воды для него не полезно. От этого его листья пожелтеют и опадут.
- Если лавру не хватает влаги, листья становятся сероватыми и хрупкими.
- Если Вы хотите наслаждаться своим лавровым деревом как можно дольше, Вы можете оставить его на улице, до заморозков. Не забудьте перенести лавр в помещение, как только наступят заморозки. Для полной уверенности мы рекомендуем поставить лавр на защищенное от морозов место. Растение может находиться в (полной) темноте, при условии, что Вы дадите ему весной постепенно опять привыкнуть к свету. Ни в коем случае не ставьте лавровое дерево сразу на яркое солнце, чтобы его листья не сгорели.
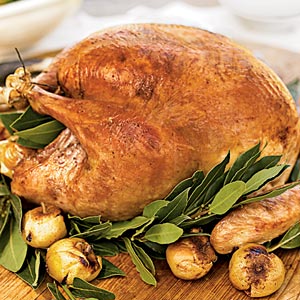
Herb Roasted Turkey
Ingredients.
- 1 (12–15 pound) fresh or frozen turkey, thawed
- 3 tablespoons unsalted butter, softened
- 1 tablespoon plus 1 teaspoon salt, divided
- 1 teaspoon freshly ground black pepper, divided
- 6 large sage leaves
- 6 large flat-leaf parsley sprigs
- 3 large thyme sprigs
- 3 fresh or dried bay leaves
- 1/2 medium onion
- 1 garlic clove, halved
- 2 cups fat-free low-sodium chicken broth
Preparation
1. Preheat oven to 450º.
2. Remove and discard the neck and giblets. Rinse the turkey under cold water; dry.
3. Gently separate the skin from the breast of the turkey with your hands. Rub the unsalted butter evenly over both breasts. Then pat the skin back into place.
4. Season the cavity of the turkey generously with 1 tablespoon salt and 1/2 teaspoon black pepper.
5. Place the sage leaves, parsley sprigs, thyme sprigs, bay leaves, onion, and garlic clove into the cavity of the turkey. Tie the legs tightly together with a piece of kitchen twine.
6. Season the skin of the turkey on the top and bottom with 1 teaspoon salt and 1/2 teaspoon pepper. Then, tuck the wing tips under the breast of the turkey, and place it in a wire rack in a roasting pan along with the chicken broth.
7. Place the turkey on the bottom rack of the preheated oven and roast it for 30 minutes. Reduce the oven heat to 325º and continue to roast the turkey for 2 1/2 hours, basting it every 20 minutes, until an instant-read thermometer reads 165º when inserted into the thickest part of the thigh of the turkey, away from the bone. Cover the bird loosely with foil. The temperature of the meat will continue to rise while standing.
8. Allow the turkey to rest for 30–40 minutes before transferring to a platter and carving it. Then use the pan juices to make Maria’s easy gravy.
Simple Traditional Pan Gravy: Start by pouring the juices from the roasting pan in which the turkey was cooked into a bowl, and skim off the fat. Set the bowl aside. Add 1 cup dry white wine to the roasting pan and bring it to a boil. Stir the wine to release the caramelized bits from the pan. Reduce the wine until the pan is almost dry, then add the skimmed juices back to the pan. If the juices are scant, supplement them with fat-free low-sodium chicken broth, as needed. Bring the mixture to a boil and then strain it into a saucepan; keep hot and set aside. In a small bowl, whisk, 4 tablespoons all-purpose flour into 1 cup water (there should be enough of the flour mixture to thicken 8 cups of gravy). Using a whisk, stir 1 cup of hot stock into the flour mixture until it is smooth. Add the thickened stock back into the remaining juices and whisk the mixture together while bringing it to a boil. Simmer the mixture for 15 minutes, seasoning with salt and pepper to taste, transfer to a gravy boat, and serve.

